The Ultimate Dumbbell Floor Workout To Lose Belly Fat

Dumbbell floor workouts deliver the perfect one-two punch when it comes to torching belly fat and building strength. These routines don’t just hone in on your midsection—they work your entire body, activating multiple muscle groups in every movement. Combined with the right nutrition plan and recovery strategy, a dumbbell floor workout can be effective for anyone looking to shed excess fat and build lean muscle. So, I’ve curated the ultimate dumbbell floor workout to lose belly fat.
Unlike traditional cardio, which primarily burns calories during the session, dumbbell workouts trigger a metabolic afterburn effect known as excess post-exercise oxygen consumption (EPOC). This means your body continues to burn calories for hours after you finish, making it an efficient tool for fat loss. Plus, the floor-based nature of this workout minimizes joint impact while maximizing muscle engagement, allowing you to push hard without overloading your joints. Exercises like dumbbell renegade rows and Z presses challenge your strength and improve core stability and posture—a win for aesthetics and functionality.
Consistency is key to making the most of this routine, but so is balance. Pair these full-body movements with a diet rich in protein, fiber, and healthy fats to fuel your efforts and optimize fat burning. Prioritize quality sleep and active recovery to support muscle repair and reduce stress—both critical factors in tackling stubborn belly fat. Ready to transform your workout game? Grab a pair of dumbbells, roll out your mat, and let’s get started.
Why Dumbbell Workouts Are Ideal for Belly Fat Loss


If you’re trying to shed belly fat, dumbbells might just be your secret weapon. These versatile weights aren’t just for bulking up—they’re a go-to for fat-burning workouts that target your core, build lean muscle, and elevate your heart rate simultaneously. Unlike traditional cardio, which focuses solely on calorie burn during exercise, dumbbell routines create a dual effect: torching calories while you work out and boosting your metabolism long after you finish.
Dumbbell exercises also require heightened core engagement, making them perfect for attacking stubborn belly fat. From functional movements to compound exercises, dumbbells combine strength and cardio into a time-efficient package. Here’s a quick list explaining why they’re so effective at helping you achieve a leaner, firmer midsection.
1. Builds Muscle, Burns Fat
Strength training with dumbbells increases lean muscle mass, which helps boost your metabolism. The more muscle you build, the more calories your body burns at rest, creating the perfect recipe for shedding excess fat.
2. Engages Your Core in Every Move
Many dumbbell exercises require core stability, meaning you’re constantly activating your abs to maintain balance and control. Moves like the Dumbbell Z Press and Plank Pull Through directly target your midsection while improving your posture and functional strength.
3. High-Calorie Burn Through Compound Movements
Exercises like the dumbbell renegade row and glute bridge involve multiple muscle groups, creating a higher calorie burn than isolation exercises. This combination of strength and cardio elevates your heart rate, making it ideal for fat loss.
4. Time-Efficient and Versatile
With just a pair of dumbbells, you can create endless workout variations to keep your routine fresh and challenging. Dumbbell workouts allow you to train multiple muscle groups in less time, perfect for busy schedules.
Ultimate Dumbbell Floor Workout To Melt Belly Fat
What you need: A pair of dumbbells and a workout mat. This full-body workout emphasizes strength, stability, and core control. It will take 30–40 minutes, including rest between rounds.
The Routine
- Dumbbell Z Press (3–4 sets of 8 reps)
- Dumbbell Glute Bridge (3–4 sets of 8 reps)
- Dumbbell Renegade Row (3–4 sets of 8 reps per arm)
- Dumbbell Side Planks + Hip Dips (3–4 sets of 12 reps per side)
- Dumbbell Plank Pull Through (3–4 sets of 10 reps per side)
Directions: Complete 3 to 4 rounds of the circuit. Perform each exercise consecutively with minimal rest. Rest for 3:00 minutes between rounds. Focus on controlled movement, proper form, and steady breathing throughout the workout.
1. Dumbbell Z Press
- Sit on the floor with your legs extended straight before you, forming a 90-degree angle at your hips.
- Keep your chest tall and back straight.
- Hold a dumbbell in each hand at shoulder height, with palms facing forward or slightly angled inward.
- Brace your core to stabilize your torso and prevent leaning backward.
- Press the dumbbells overhead until your arms fully straighten, ensuring the weights align with your ears.
- Slowly lower the dumbbells back to shoulder height with control. Avoid arching your lower back or shrugging your shoulders during the movement.
2. Dumbbell Glute Bridge
- Lie on your back with your knees bent, feet flat on the floor, and arms resting by your sides.
- Place a dumbbell across your hips and hold it securely with both hands.
- Position your feet hip-width apart.
- Engage your core and drive through your heels to lift your hips toward the ceiling, forming a straight line from your shoulders to your knees.
- Squeeze your glutes at the top, ensuring your lower back doesn’t overextend.
- Lower your hips back to the starting position with control, keeping tension in your glutes throughout the exercise.
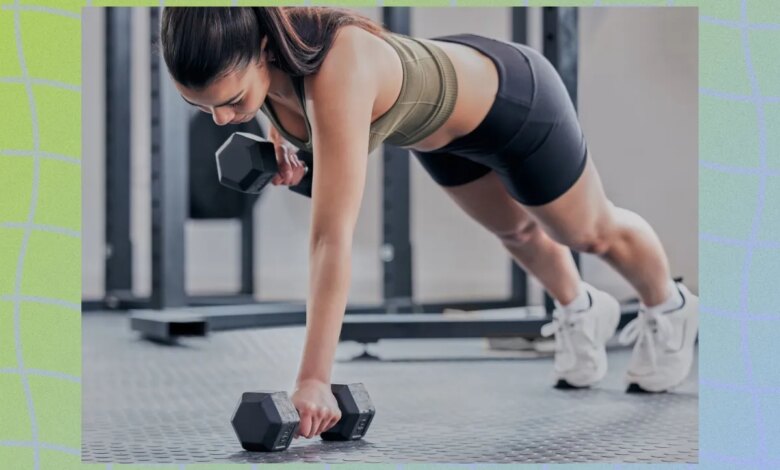
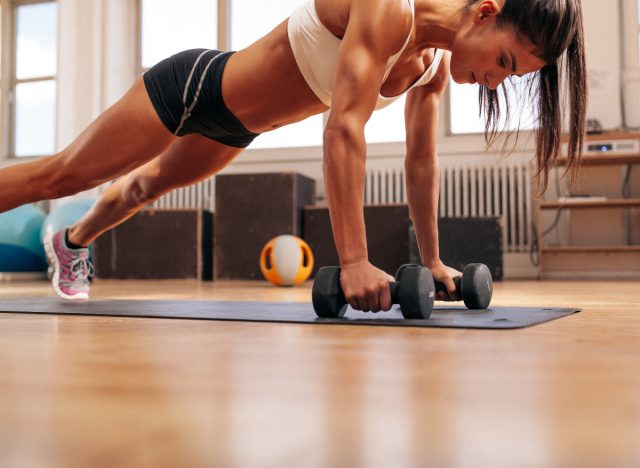
3. Dumbbell Renegade Row
- Start in a high plank position with your hands gripping dumbbells directly under your shoulders and feet set slightly wider than shoulder-width apart for balance.
- Keep your core engaged, hips level, and body in a straight line from head to heels.
- Pull the right dumbbell toward your ribcage by bending your elbow and squeezing your shoulder blade. Avoid rotating your torso or letting your hips shift.
- Lower the dumbbell back to the floor with control.
- Repeat on the left side, alternating arms for the prescribed reps. If needed, modify by placing your knees on the ground to maintain form.
4. Dumbbell Side Planks + Hip Dips
- Start in a side plank position with your bottom forearm on the floor, elbow directly under your shoulder, and your top hand holding a dumbbell on your top hip.
- Your legs should be stacked, or the top foot can be slightly in front of the bottom foot for stability.
- Engage your obliques and lift your hips to create a straight line from your head to your feet.
- Slowly lower your hips toward the ground, maintaining control and avoiding collapsing.
- Lift your hips back up to the starting position.
- Repeat for all reps on one side before switching to the other.
5. Dumbbell Plank Pull-Through
- Begin in a high plank position with a dumbbell placed on the floor just outside one hand.
- Ensure your wrists are under your shoulders and your body forms a straight line from head to heels.
- Keeping your hips square to the ground and your core engaged, reach your opposite hand under your torso to grab the dumbbell.
- Drag the dumbbell across the floor to the other side, placing it outside your opposite hand.
- Return your hand to the plank position and repeat on the other side, alternating for the prescribed reps.
- Focus on minimizing hip rotation and maintaining a steady plank throughout.
Jarrod Nobbe, MA, CSCS


